For instance: here is the tabernacle canopy and altar of repose designed for St Paul Catholic Church in Pensacola FL, with the original Sketchup illustration and the final furnishings built by Gary Garner (wood altar) and Brian Donahue (bronze canopy, tabernacle lamp, and cast finials).


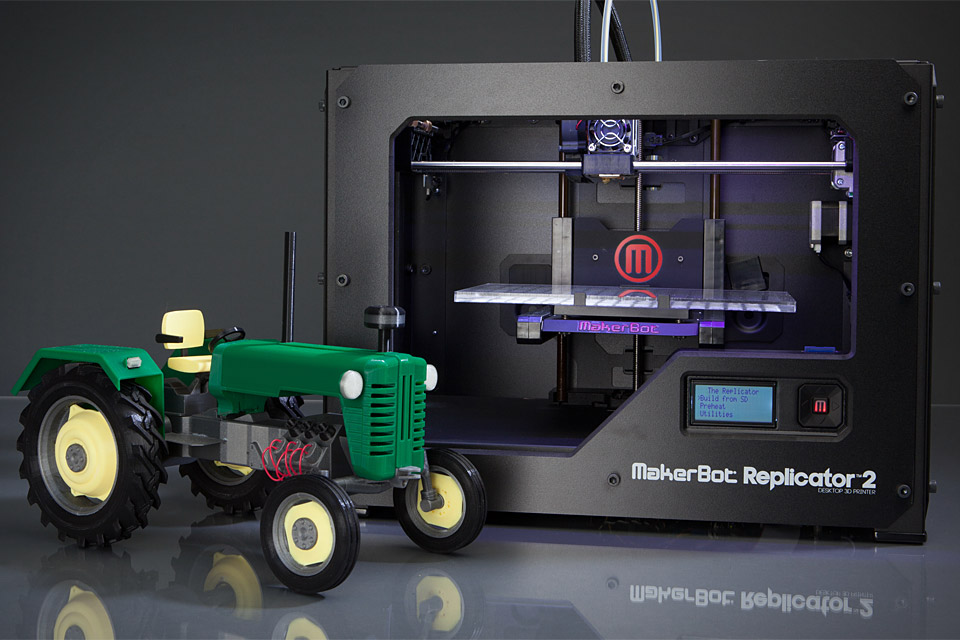
Deciding to get a 3D printer was an immediate and obvious choice: at about $2200.00, the
ability to present my ideas and help my clients visual the designs in
three-dimensional models was immensely attractive. The Replicator works by heating, melting and layering plastic in 3D space on a build platform that moved up and down (the Z axis) while the heating/extruding "print head" moves along a gantry frame to control the lateral placement (the X and Y axes) -- sort of like a 2D printer puts a dot of color on a specific place on a page in the X-Y plan, but this adds the depth of the Z-axis. The plastic is PLA (Polylactic Acid), which is a corn based, biodegradable plastic that has very good dimensional stability and strength. The plastic is spool loaded as a filament (think of really thick fishing line) that is fed into the heating element to be surgically placed in the model. The plastic comes in wide range of colors.

For my first test, I decided on a household project. One of the sliding closet doors had a broken bottom track guide. It was probably 25 years old, and pretty beat up. I probably could have run down to Home Depot and bought a new one for $7.00, but why not see what this Replicator can do?

I made a quick model of guide in Sketchup, carefully measuring and building the geometry -- this took about 15 or 20 minutes.

As can be seen in the section cut below, the upstands for the door guides are hollow and the screw holes were countersunk in the original piece, so I added these details.

I saved the Sketchup model as in an *.STL format (stereo lithography), which is now included in Sketchup, which is then imported into Makerbot's its own proprietary MakerWare software. MakerWare effortlessly imported the STL model (makerWare has its own proprietary *.thing format), but it was imported in metric, which is easily rescaled with the Scale>"Inches->mm" button. This program takes the Sketchup geometry and creates the 3D horizontal slices instructing the extruder head where to place the melted plastic.

Here is a sequence of photos showing the way the foot print is first laid down in melted plastic, then slowly built up layer by layer.


The whole process on "medium quality" (think of this as "resolution" in a 2D image) took 56 minutes to build. Here's some video of the Replicator2 in action:
Here are some photos comparing the original to the new piece.


And the new piece installed:

The bottom line is that affordable 3D printing is a gamechanger for small design firms, and hobbiests. The PLA can be even used in lost wax casting to make molds for poured metals such as bronze, gold, copper, aluminum, tin, silver, and white metals. The quality right off the printer is certainly acceptable for many uses (I have not yet experimented with the high quality setting) and the plastic can be further worked with filling and sanding to achieve a higher level finish if needed. We can assume, just as dot matrix was once the state of the industry, that resolution and speed will only improve over time.
The most important thing is that this sort of technology opens up economic opportunity for all sorts of custom building of spare parts and one-off designs. I wouldn't be surprised if in the next decade these sorts of 3D printers are as almost as common in small businesses and homes as now virtually everyone has 2D printers that produce high quality photo images.
The most important thing is that this sort of technology opens up economic opportunity for all sorts of custom building of spare parts and one-off designs. I wouldn't be surprised if in the next decade these sorts of 3D printers are as almost as common in small businesses and homes as now virtually everyone has 2D printers that produce high quality photo images.
The next Industrial Revolution may just be small scale, home based micro businesses.
Steven,
ReplyDeleteGreat overview of your Makerbot 3D printing experience. It will be interesting to see how the Industrial Revolution Redux rolls out as this creative digital medium gains traction. Do you foresee modeling and printing things like the tabernacle canopy and altar of repose from above with this method? I hope you'll share more as you gain experience with your 3D printer.
Matt Jackson
The Digital Jobsite at finehomebuilding.com
Hi Matt: I suspect for now I'll use the MakerBot for scaled models to work out designs and to communicate with the clients. The things like Cosmo Wenman (See the next thread) is doing are really fascinating, and for replicating architectural details it might make a lot of sense. I've been talking with friends who are sculptors and who cast in bronze, and I hope to be experimenting with them on this sort of thing, as well as maybe making molds for GFRC or GFRG. But I'm not a production shop, just an architect.
Delete